Develop your own Robot
Overview
Overview
Keywords: CAD, 3D printing, computer science, electrical engineering, self-directed learning
Subjects: technology, computer science, mathematics, physics, extracurricular clubs
Age group: 14+ years
Time frame: one learning scenario: approximately 7–15 double lessons;
the whole project: 1 half-year – 2 school years (90 minutes per week)
Skills development: self-directed learning, programming, design, assembly

Marco Düvelmeyer presented his teaching project “Tech Workshop 4.0” at the European Science on Stage Festival 2026 in Klaipėda, Lithuania.
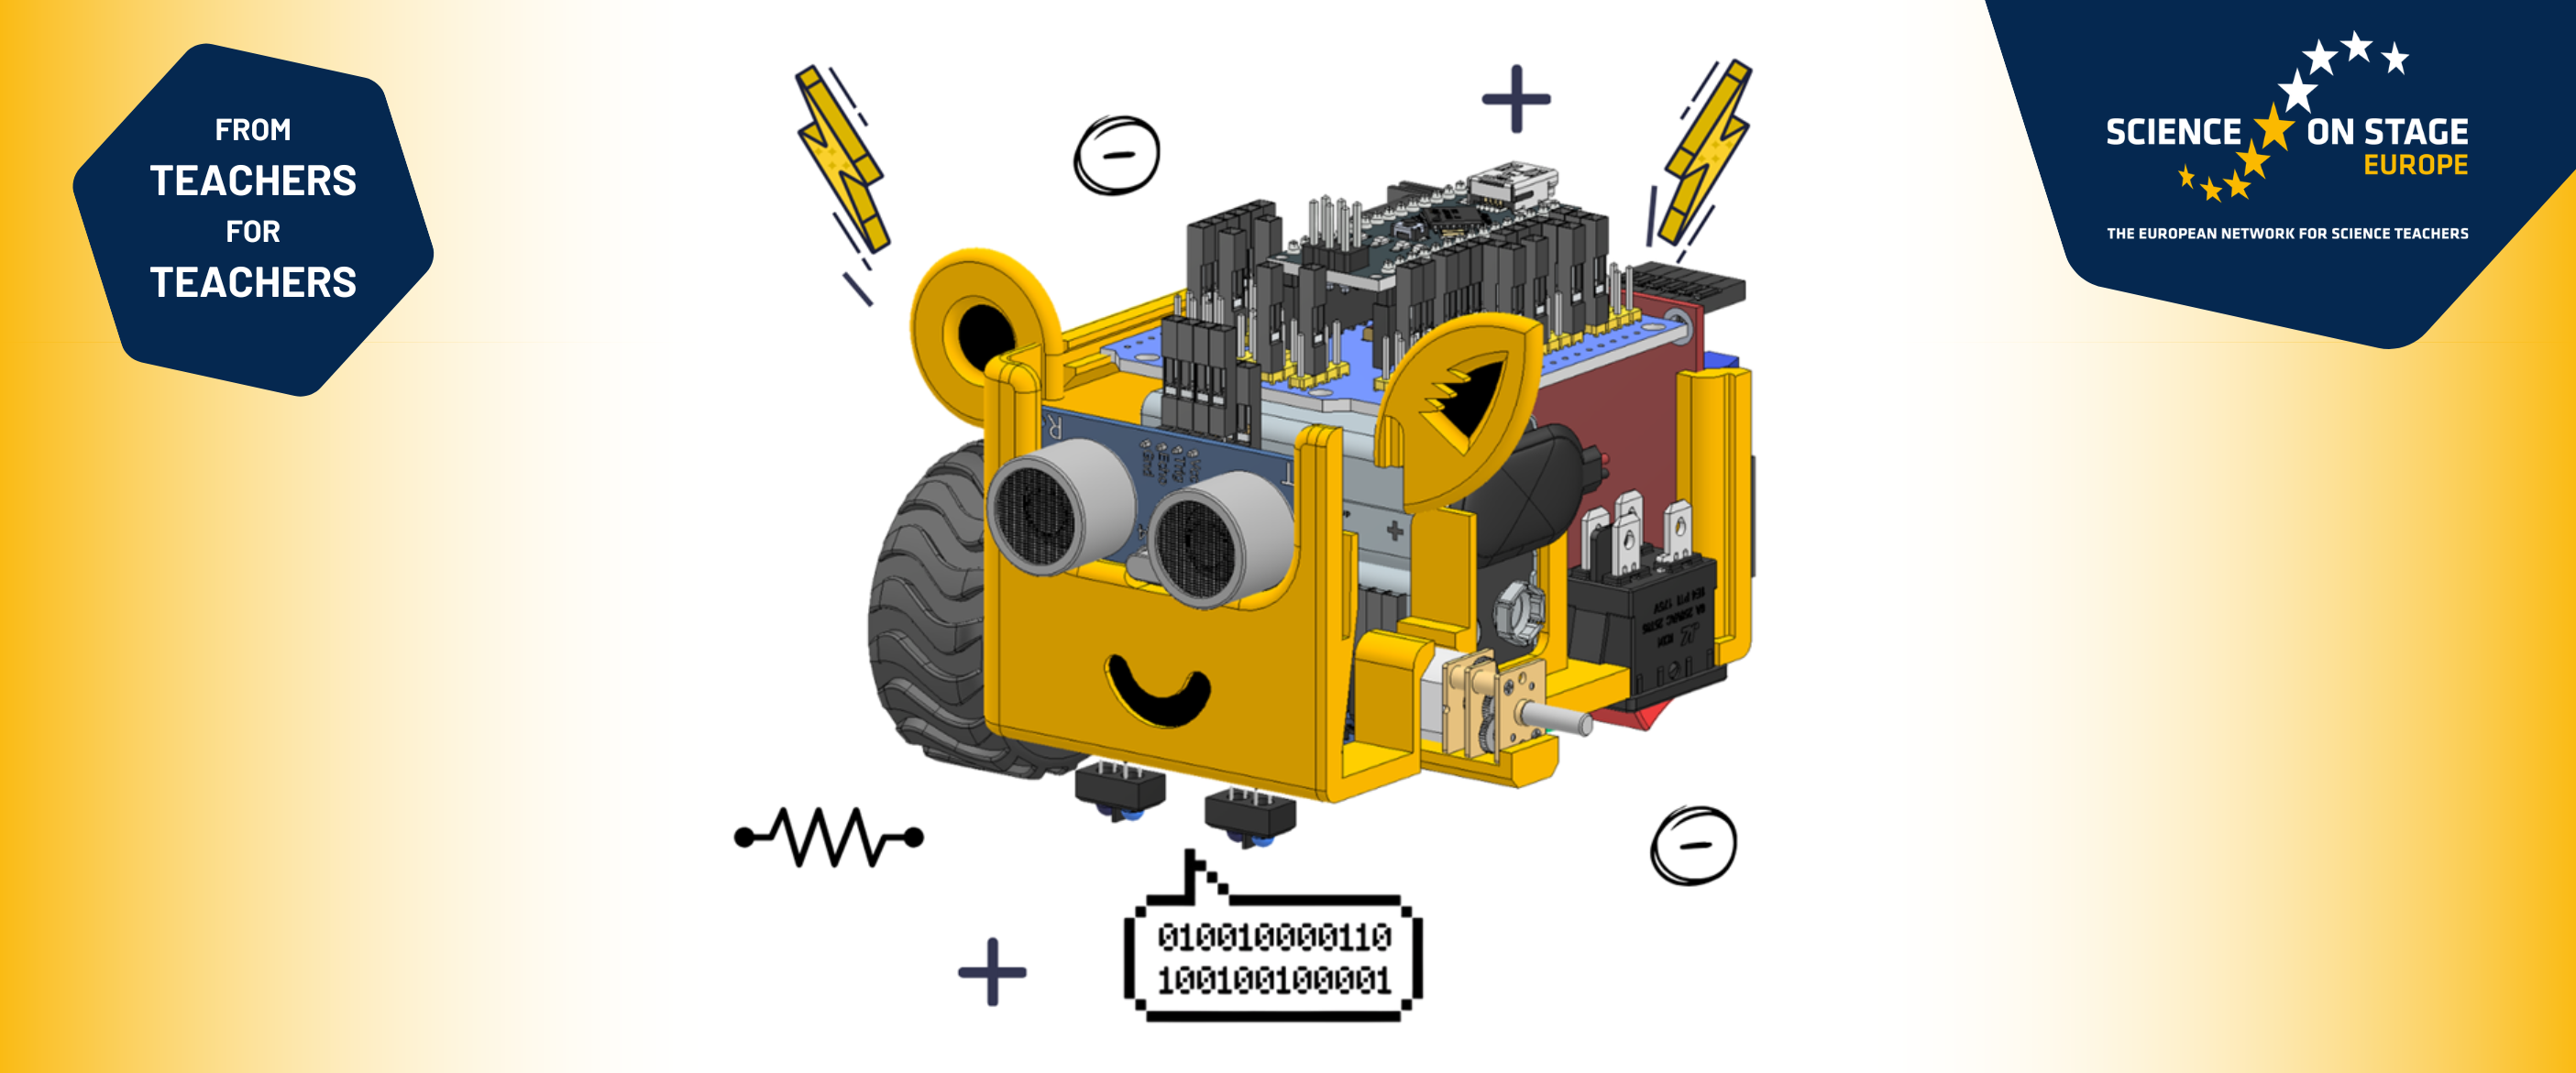
Using YouTube tutorials, students learn how to design, print, assemble, and program their own small robot.
Introduction
Teachers interested in this project should definitely build the robot themselves before doing the project in class, using the instructions and tutorials available at https://technikwerkstatt40.de/en/.
You can find an overview of the project on the project poster from the Science on Stage Festival.
The time-lapse video shows what you can expect from this project.
Materials
- precision screwdriver
- side-cutting pliers
- needle-nose pliers
- wire strippers
- lighter
- soldering iron (optional)
Project structure and learning scenarios
The “Tech Workshop 4.0” project is divided into six learning scenarios, which are structured as modules. They can also be used individually and independently of one another, allowing lessons to be organised flexibly.
Duration: approximately 7–15 double lessons per learning scenario.
Click here for an overview of all learning scenarios.
The CAD tutorials cover a wide range of software (TinkerCAD, Inventor, Fusion, OnShape). All these software programmes can be used free of charge by teachers via a web browser.
Learning Scenario 01: Fundamentals of CAD and 3D Printing
In this learning scenario, students learn how to model simple 3D objects on a PC and to print them. In doing so, they acquire the digital and practical foundation for independent design tasks.
Learning Scenario 02: Infinite Gearbox
In this module, students work with a more complex assembly. They design and print their own small gearbox. In the process, they gain insight into the precise interaction of mechanical components within a CAD environment.
Learning Scenario 03: Programming Fundamentals
This learning scenario offers a playful introduction to the world of software through block-based programming with the Calliope mini, which is similar to a micro:bit. Students learn fundamental algorithmic logic and combine visual blocks to create their first functional programs.
Learning Scenario 04: Text-Based Programming
Building on the visual foundations, students here gain insight into text-based programming using a high-level language. They learn the syntax and fundamental code structures required to write programs using actual code.
Learning Scenario 05: Designing a Robot Housing
This advanced task presents a special challenge in which students design the housing and a slider for the robot. The focus is on precise fit, functional design, and technical problem-solving.
Learning Scenario 06: Assembling the Robot
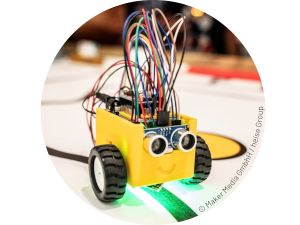
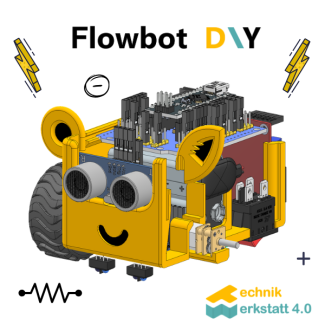
In the final module, students wire, screw together, and program the robot on their own. The result is a fully functional, self-assembled system that students can take home for approximately 30 €, if they want to.
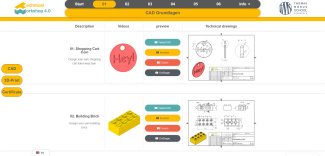
Learning Scenario 01: Fundamentals of CAD and 3D Printing
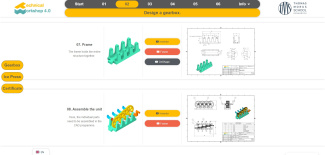
Learning Scenario 02: Infinite Gearbox
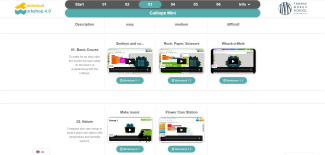
Learning Scenario 03: Programming Fundamentals
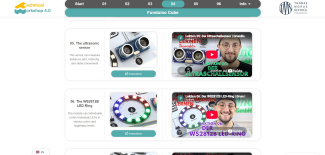
Learning Scenario 04: Text-Based Programming
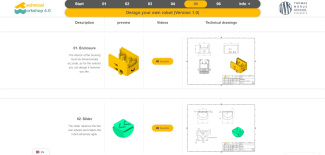
Learning Scenario 05: Designing a Robot Housing
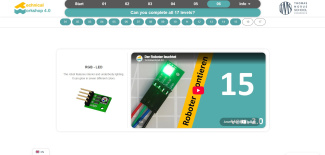
Learning Scenario 06: Assembling the Robot
The idea behind the Flowbot DIY
Flow happens when you become completely absorbed in an activity. To achieve this, the task must match your skills while continuously increasing in difficulty. Side effect: Loss of time perception.
Outlook
There are plans to expand the project to include laser cutting. Specifically, the robot will be fitted with custom-made wooden ears. This expansion allows for the integration of new software for designing the ears and new machinery, such as a laser .
About the author
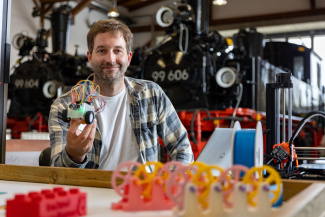
As a former engineer and a teacher of technology and computer science, Marco Düvelmeyer has extensive practical experience from both industry and the classroom. Since 2021, he has been implementing this robotics project in his classes at Thomas-Morus-School in Osnabrück, Germany, and is continuously developing it further.
The author is always happy to present the project on-site and offer training sessions for interested teachers, universities, makerspaces, and other educational institutions. Anyone interested can contact him though his website.
Share this page