The 3 Rs - Making Cement from Mussel Shells

Overview
Overview
Keywords: bio-based products, biomass
Disciplines: biology, chemistry, economics
Age level of the students: primary and secondary (all units have a main lab activity for primary and one for secondary students)
Time frame: 45 - 90 minutes per activity
Partners: involvement of researchers to present a lesson for the students or visit to an industry that produces bio-based products.
![]()
![]()
![]()

Introduction to the topic for the students
To introduce the topic, students can watch a video such as Can concrete, a major CO2 emitter, be made greener?
Students can then research traditional concrete production and alternatives, e.g. production from different raw materials.
Lab activity: quicklime from mussel shells
CAUTION: This procedure calls for heating with an electric burner or open flame. The product (CaO) is a corrosive strong base, wear eye protection.
Produce burnt lime from biomaterials (mussel shells), anamorphic silica (from rice husks or ash). This project requires access to an oven, kiln or electric furnace capable of reaching temperatures of 1100 °C for longer periods of time (typically a small furnace used for melting silver).
This exercise can be done with basic equipment and almost no preparation. The theoretical background and chemistry can be found as notes in the unit.
The goal is to explain how fossilised CO2 is released in the process of cement production.
What are the shells actually made of?
Shells are mostly made of calcium carbonate (CaCO3) and keratin.
How do mussels grow shells?
They take up Ca2+ and CO32- from the surrounding water, CO32- is in equilibrium with atmospheric CO2
CO2(g) + H2O (l) ⇆ H2CO3(aq) ⇆ 2H+ + CO32-
When did they grow?
During the last few years; this is an example of short term carbon cycling. First the mussels take on CO2 while growing, releasing this CO2 in the same atmosphere does not increase CO2 levels.
What naturally happens to the shells?
They accumulate in sediments and are slowly transformed into limestone (again mostly CaCO3). This fossilisation process takes millions of years. So using limestone as material for burnt lime will release fossilised CO2 into our atmosphere.
Materials
- Mussel shells
- Mortar with pestle (or other method for grinding the shells)
- Crucible (or stainless steel cup)
- Test tubes (or small glasses)
- Pipettes (or straws) to handle small volumes of liquid
- Dilute HCl 1 mol/dm3 (or acetic acid)
- A scale for weighing grams
- Litmus paper to monitor pH (optional)
1. Enjoy a delicious meal of oysters or clams! You could also ask a restaurant in your area to collect some shells for you. Wash and scrub the shells. Dry the shells for at least 30 min in a hot oven (250 °C), otherwise, they will start to smell. This will evaporate water bound in the micropores in the shells, making them brittle.
How far away is your kitchen from the ocean, which resources have been used to transport the shells to your location? (most probably fossilised fuel)
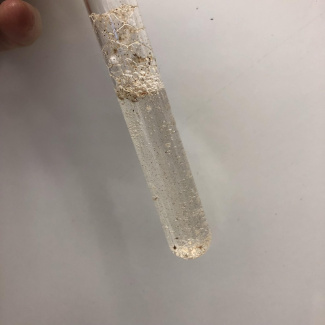
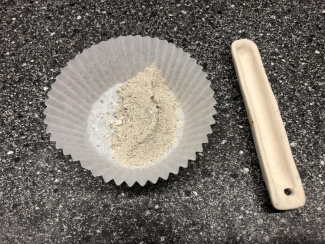
2. Crush the shells and grind them to a fine powder. This step is important to speed up the reactions. The powder will be slightly grey.

Crushing shells to speed up the reaction
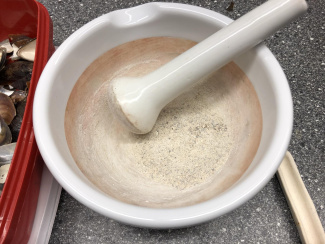
Crushed shells are a fine grey powder
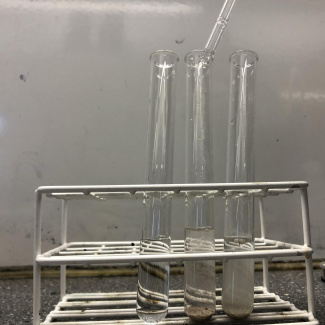
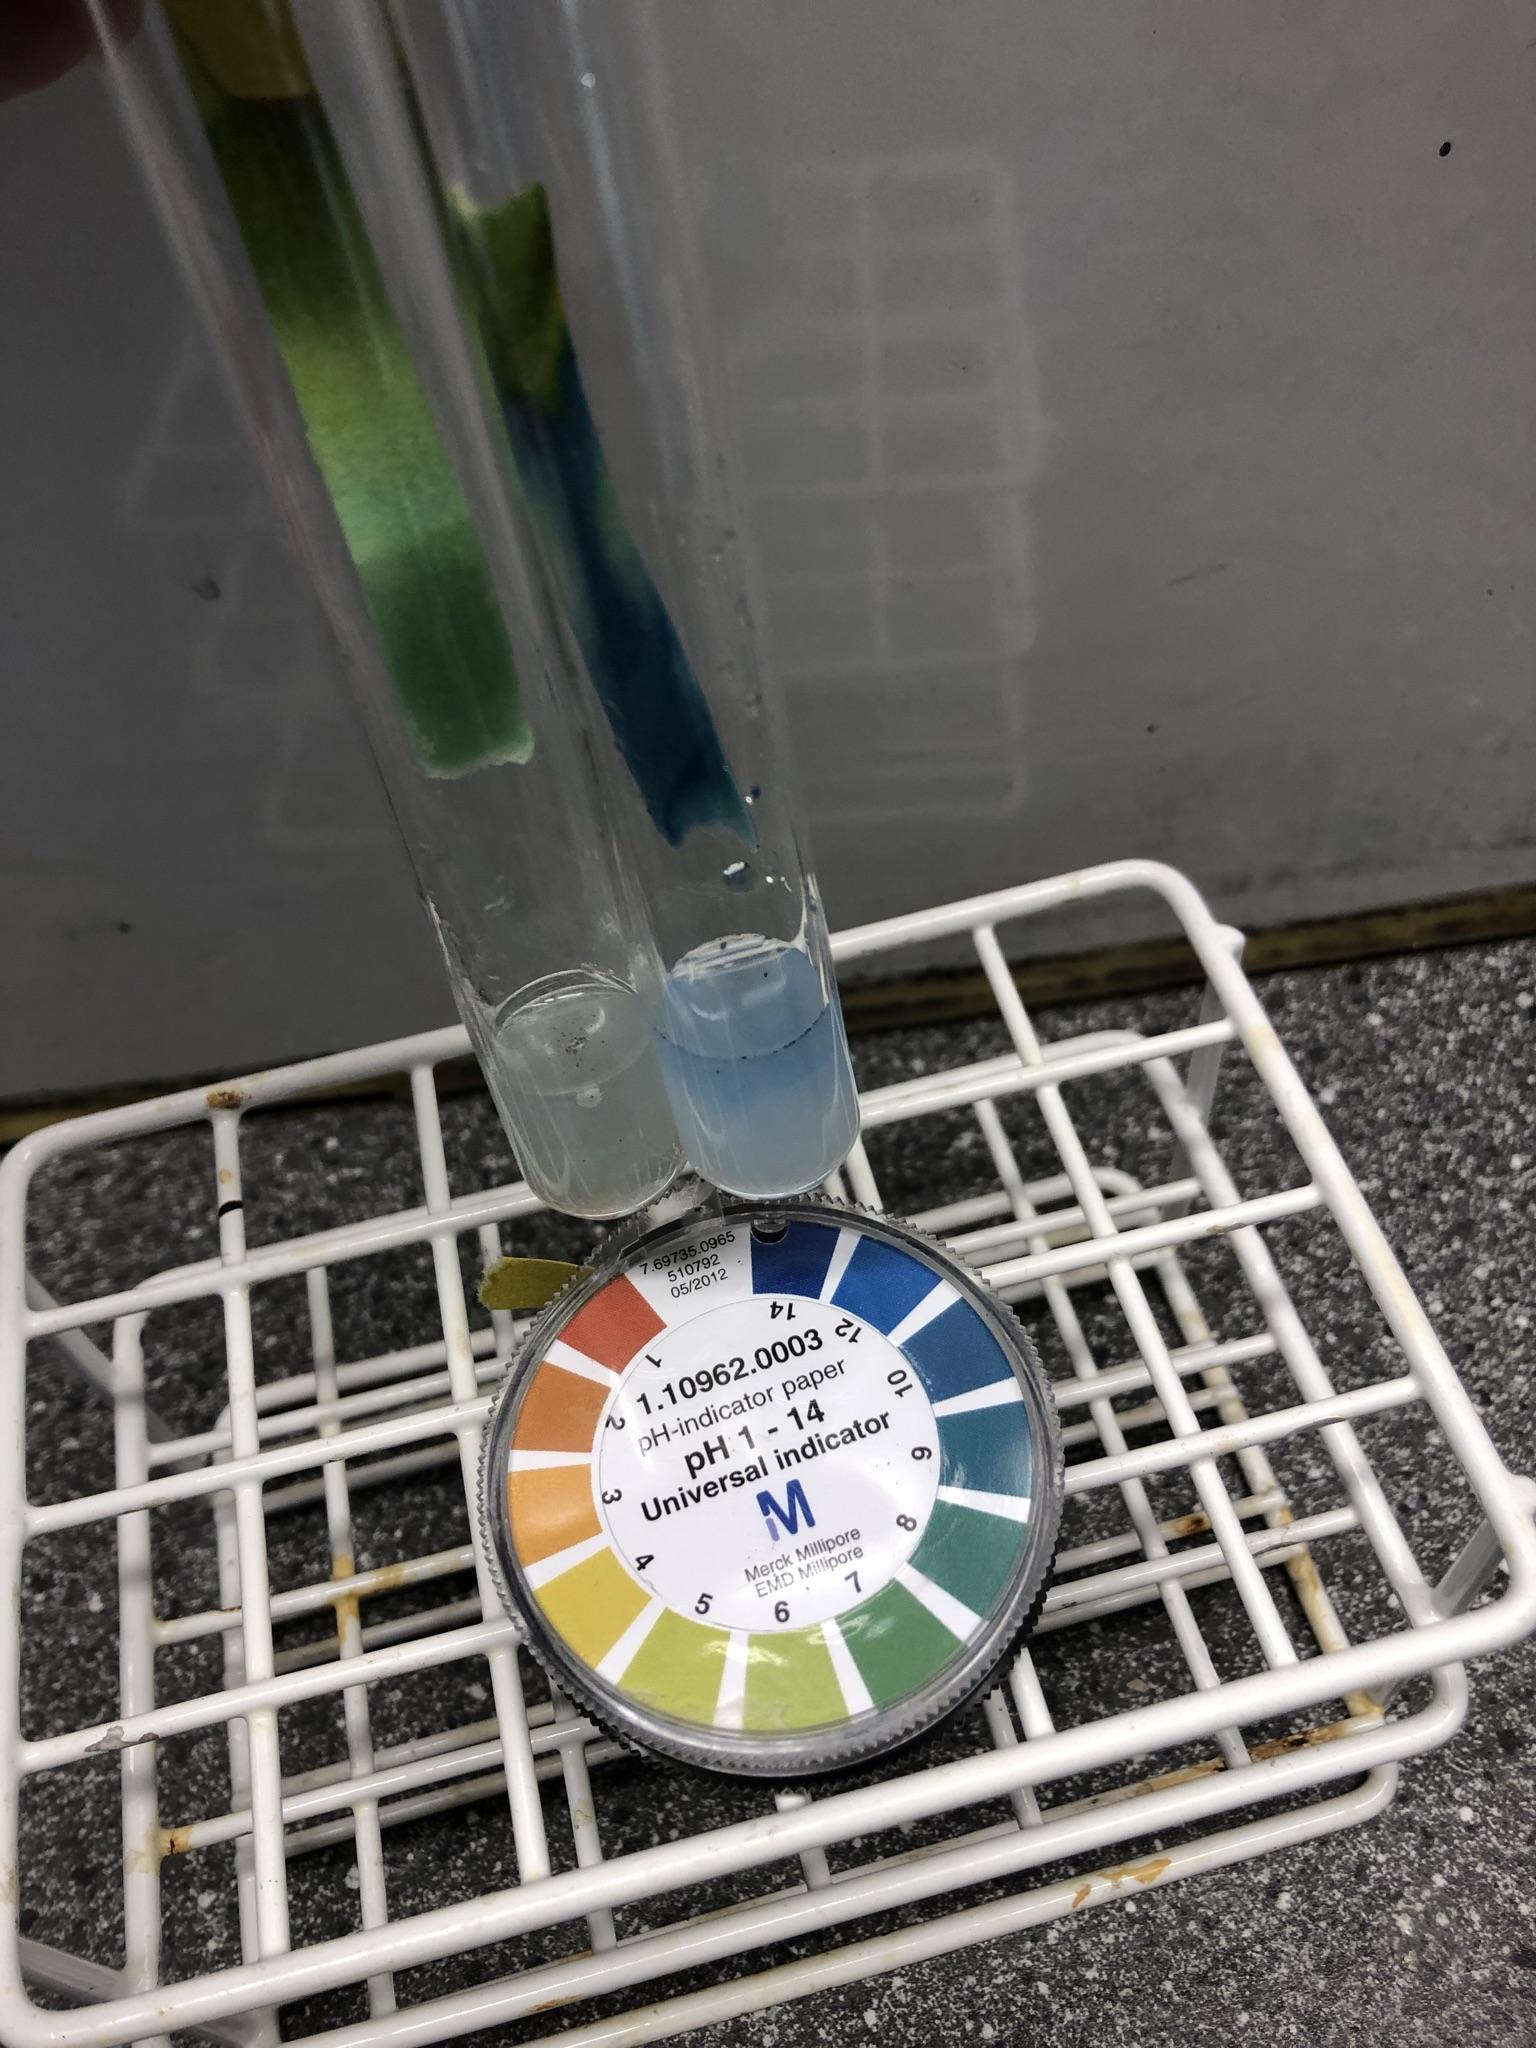
3. For demonstration, fill up three tubes with water and transfer some of the grounded shells into two of them. CaCO3 does not dissolve in water. Check the pH with litmus paper, the pH is not affected by CaCO3 and is the same as in the tube with only water.
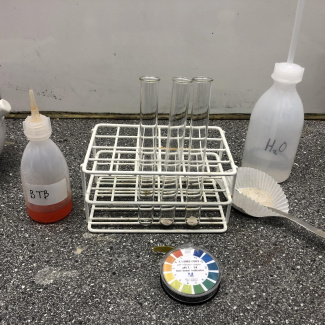
Prepare the test

One tube filled with only water, two with added CaCO3
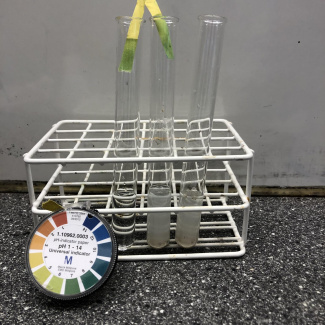
pH test using litmus paper
4. Add HCl (or acetic acid) drop by drop to the third tube. The finer particles suspended in water will quickly dissolve, and small gas bubbles will emerge. If you add more acid, the reaction will be much faster.
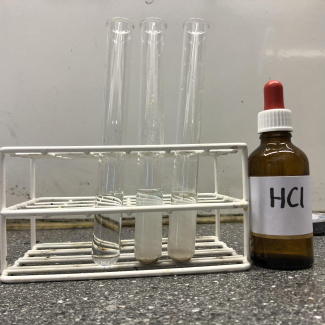
add HCl
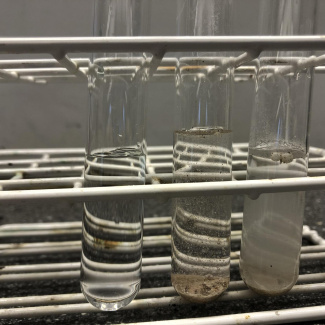
gas bubbles form
Carbon dioxide: 2H+ + CO32- → H2O + CO2(g).
The students can examine the gas by collecting it (i. e. by closing the tube with their thumb) and check how it affects a burning match.
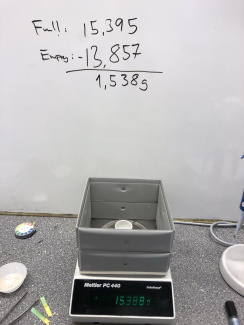
5. Take a crucible (or steel cup), weigh it and note the weight, this will be your tare weight. Add some ground shells (1-2g) and weigh it again. The difference between this weight and your tare weight is the weight of the starting material.
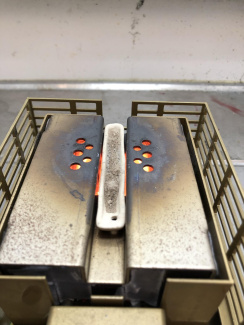
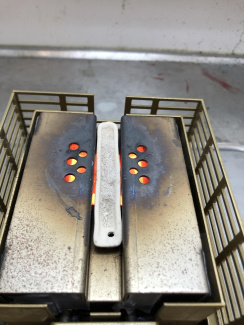
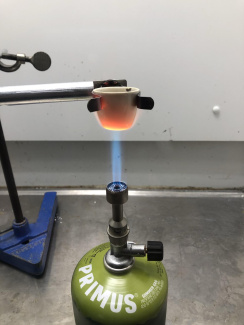
6. Transfer the crucible to an electric burner and heat for at least 1 hour. You can make a shield from aluminium foil to increase the temperature. Optionally you can use a Bunsen burner for at least 5 min. Initially, the powder will darken while keratin and other proteins burn. The product (CaO) will have a slightly lighter colour.
This is a slow process called calcination:
CaCO3(s) ⇆ CaO(s) + CO2(g)
It is an endothermic equilibrium reaction. Do not cover the crucible with a lid, although a lid will increase the temperature, the overall reaction will be slower as the CO2 has to be vented away. The product CaO is called quicklime or burnt lime.
Discussion:
How much additional CO2 is released while heating? (Fuel consumption can actually be estimated by weighing the Bunsen burner before and after burning).

7. Let the crucible cool down and weigh it again.
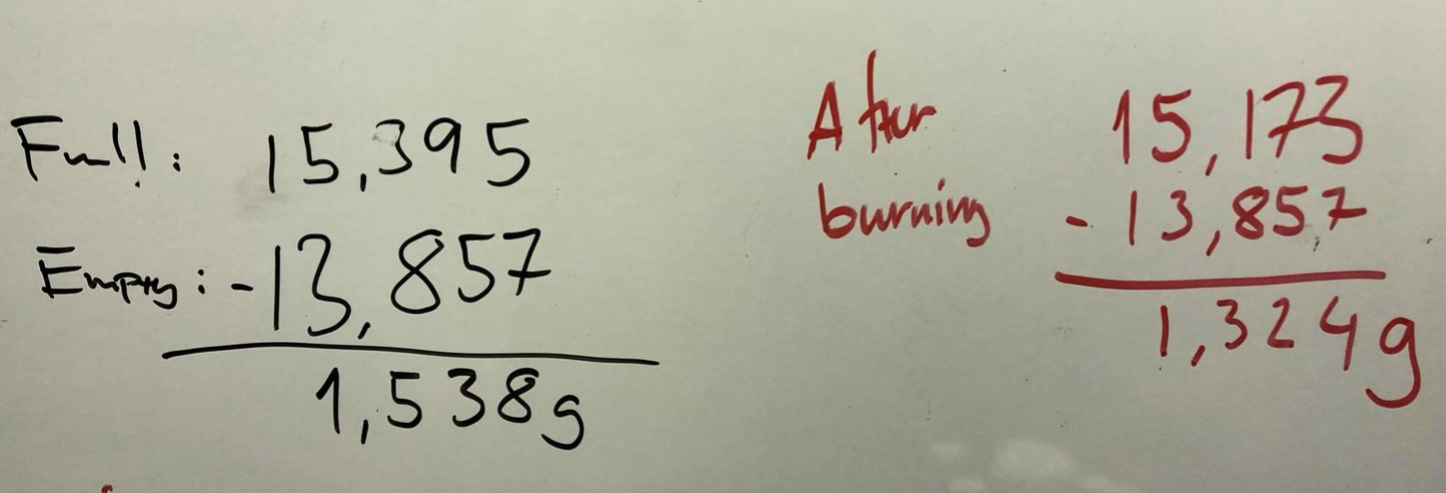
8. The decrease should be at least 20% of the weight of the powder. If not, heat it again. How long this takes depends highly on the temperature and how finely grained the shells are.
The maximum loss of mass is 44%, assuming the shells contain only CaCO3 (M = 100g/mol) and the product is only CaO (M = 56 g/mol).
9. If you have achieved at least 20% loss, congratulations, you have just made CaO or quicklime the traditional way. CAUTION: your product is corrosive!
Add some of your product to the third test tube and check the pH again. As you can see the pH will increase.
CaO(s) + H2O ⇆ Ca(OH)2(aq)
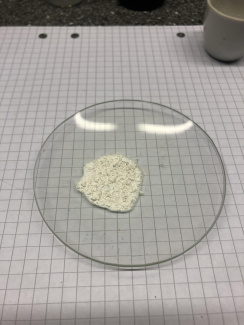
10. Now we will produce some slaked lime or calcium hydroxide. Transfer some of the CaO to a petri dish and very gently add some drops of water. The water is quickly absorbed by the CaO producing Ca(OH)2. The reaction is highly endothermic and the petri dish will get hot, you can see the procedure here
If you mix slaked lime with SiO2 (sand) you will essentially get cement, which will cure and harden over time.
Cement can be mixed with other forms of silicon oxides to produce concrete.
11. Add water drop by drop until the powder is saturated (i.e. starts to get moist) turning all the product into Ca(OH)2 . Leave it for 10min. You will now see even more has dissolved into the water. This is due to inverse or retrograde solubility. Contrary to what might be expected, Ca(OH)2 is about twice as soluble in cold water (25 °C) than in hot water (75 °C). You can see the effect in this video
The inverse solubility comes from the equilibrium reaction of solvatisation being exothermic: Ca(OH)2(s) ⇆ Ca2+ + 2OH-
According to Le Chatelier’s principle, heat favours the equilibrium to the left (i.e. the solvatisation constant Ksp will decrease), so if you heat a saturated solution of Ca(OH)2 it will actually be less soluble.
So in our process, when water is added to the CaO forming Ca(OH)2(aq) the heat will favour the formation of Ca(OH)2(s) in the solution. When cooling down the equilibrium favours more to the left.
12. After two days the Ca(OH)2 has cured, producing a dry cake. The slaked lime reacts with CO2 in the air. The product is yet again CaCO3(s). Congratulations, you just made your very own cement!
This is called curing or setting
Ca(OH)2(s) + CO2(g) ⇆ CaCO3(s) + H2O(g)
The equilibrium is favoured by low humidity.
13. To verify that you again have CaCO3 you can add HCl as before. This will evaporate the CO2, as you can see here
Authors of The 3 Rs and the Products of the Future: Anders Florén (SE), Iro Koliakou (GR), Maria Zambrotta (IT)
Links to forward to your students
Can concrete, a major CO2 emitter, be made greener? , PBS aired on 8th August 2021
Share this page